
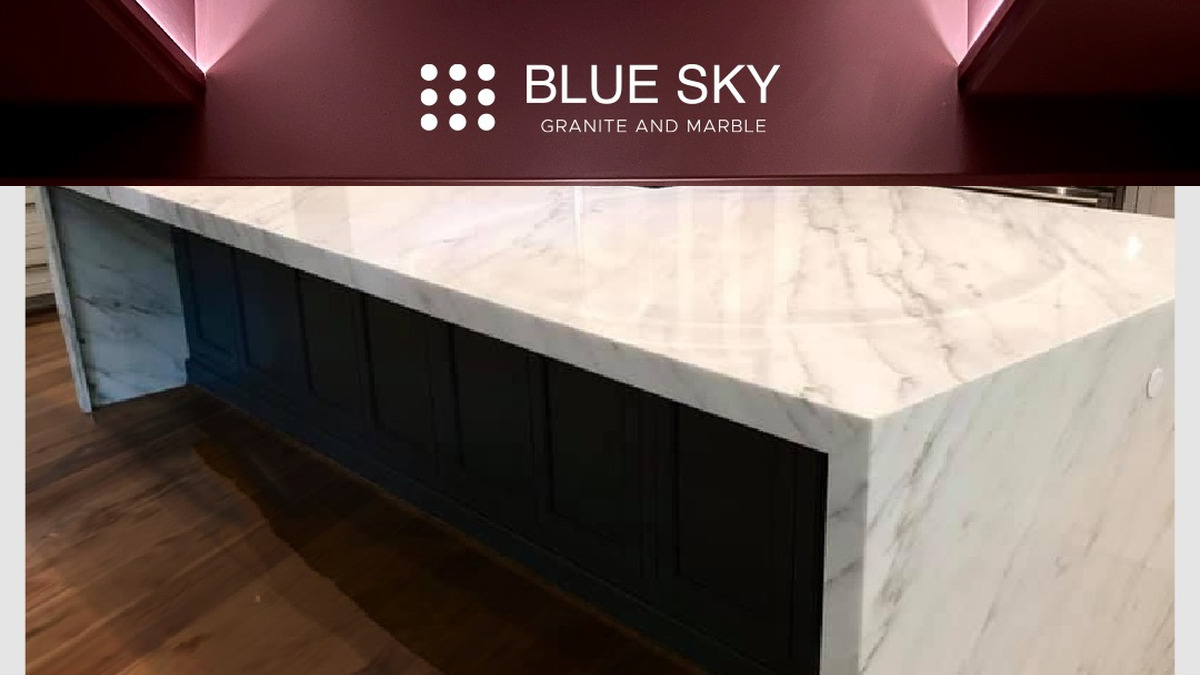
An island can become the busiest surface in a kitchen. It might hold breakfast ingredients in the morning, homework in the afternoon and dinner plates at night. Before choosing the countertop, decide how people should move around the island and what the surface must accommodate. The most useful island is not necessarily the largest one; it is the one that works with the room.
Start with the activities, not the slab
List the functions you expect from the island: food preparation, casual dining, serving, storage, a sink or another appliance. A surface used primarily for food prep has different priorities from one where family members sit. If you want both, mark the work side and the seating side rather than assuming every edge serves the same purpose.
Think about how cabinets, appliances and drawers open. Someone standing at the island should not routinely block the refrigerator, dishwasher or the main walking path. A floor plan can look generous until stools are pulled out or a door swings open. Walk through those everyday movements in the actual room before confirming the island footprint.
Discuss seating, overhangs and support early
An extended countertop can provide space for knees and stools, but an overhang is not merely a visual detail. Feasible projection and support depend on material, thickness, cabinet configuration and other project conditions. Ask the fabricator and cabinet professional to confirm the desired seating layout and the appropriate support method. A measurement copied from another kitchen is not a substitute for a project-specific assessment.
If stools sit on two sides, consider how guests enter and leave their seats. Where do chair backs land when someone stands? Will a stool obstruct a doorway or a cabinet? The answer may change the number of comfortable seats and where the countertop should finish.
Plan the exposed edges and corners
Unlike a countertop run tucked between walls, an island is visible from several directions. Edge profile, corner shape and finished ends therefore play a larger role in its appearance. A simple edge can emphasize a patterned stone; a more defined profile may complement certain cabinet styles. Ask to see samples of the actual available edge options rather than relying on a close-up photograph.
Consider where hands rest, where people walk past and which side faces the living area. Discuss visible seams and material pattern direction before fabrication. A prominent island end may deserve more attention than a section of countertop against a wall.
Coordinate fixtures and cabinetry
A sink or appliance brings extra planning requirements. Confirm its proposed placement with the appropriate trades and provide actual cabinet, sink and fixture specifications to the countertop professional before final measurements. Plumbing and electrical work belong to qualified professionals, and required support and clearances must be established for the actual installation.
Even when the island has no built-in fixture, think about how portable appliances will be used and where cords might travel. Do not assume that electrical outlets can be added wherever a preliminary sketch suggests.
Create a decision record before templating
Keep an annotated plan showing the seating sides, exposed edges, cabinet openings, fixture locations and any unresolved questions. Confirm which cabinetry must be in its final position before templating. Discuss the selected surface and the views in which its color and pattern should be most prominent.
Blue Sky’s portfolio of completed surfaces can help you describe an island design direction, and its frequently asked questions provide a useful starting point for discussing the countertop process. Final dimensions, supports and installation responsibilities should always be confirmed with the professionals working on your particular kitchen.